Since my first update last month, when I laid out the plan for this Journey to Scratch series, I have been dealing with the reality of being a golfer in Scotland during the winter months. Rather unsurprisingly, the weather has been absolutely miserable in December, with constant rain, wind, and freezing temperatures making it pretty much impossible to make it to the golf course. In truth, I’ve also had little desire to visit the course, as is normally the case at this time of year.
However, I always feel that the off-season is the perfect time to do the behind-the-scenes work, and given I now have my very own back garden practise area, there really is no excuse. So, recently, I’ve spent my time focusing on two particular tasks, which I felt were important to complete before continuing on my swing improvement journey – building a golf swing video library and gathering baseline data about my golf swing.
Watch episode 2 now
If you’re more into watching rather than reading, then you can watch my full Journey to Scratch Episode 2 video below or over on my YouTube golf channel. Should you need it, the full transcript can also be found below.
View video transcript
WELCOME TO EPISODE TWO: GOLF SWING FOOTAGE AND DATA
Hello, welcome to episode two of my journey to scratch series. Now, if you missed episode 1, I’ll link to that in the card above and in the description below. And I’ll also pop a little link to the playlist in there. So, depending on when you’re watching this video, there might be other videos in the series available. Everything, as always, can also be found over on my golf blog at andesgolfblog.co.uk.
In episode one, I talked through what you can expect in this journey to scratch series. And in this episode, I’m going to tell you more about what I have been working on recently. Now, here in Scotland, it is December and to be honest, the weather is absolutely miserable. So, it is raining, it’s windy, it’s cold, and that’s meant that I’ve not really been able to play much golf. However, there are two things that I have been working on recently which I think are really, really important to take care of just now at the beginning of this journey.
CAPTURING THE BASELINE SWING
First of all, I decided that I wanted to have a collection or a library of footage of my golf swing at this moment in time with each of my clubs. Now, I’ve always filmed my golf swing when I’ve been practicing or out on the golf course, but I’ve never really put much effort into setting the camera up correctly and making sure that I have some really good footage that I can analyze and compare against. And what I’m wanting to do is in a few months time, I want to be able to look back at my golf swing and see hopefully how much it has improved.
So, I headed out to the garden. I set a camera up down the line and front on and wanted to capture some footage of me hitting all of my clubs. However, I quickly realized that it is really important to make sure that the camera is set up in the correct place both down the line and front on. So, what I did is I watched one of the videos from the guys at Me, My Golf, where Piers basically takes you through the process of setting the cameras up properly, and I’m going to include that video in this video just now.
PIERS’ GUIDE TO CAMERA PLACEMENT
All right, let’s show you how to video your golf swing. Now, this is really important that you get the cameras in the correct place and where possible, please try and get it on a tripod when you’re holding it or getting somebody to hold it. Obviously, it’s not going to be that still. It’s going to be a bit shaky. So, tripod is really helpful in this situation. What we’re looking for is we’re looking for two main views: the down the line view and the front on view. So before we start looking at these, make sure you get your camera phone and put it in slow motion. And then secondly, just lay down a grid on the floor like I’ve got here.
Basically what I’ve got, I’ve got an alignment stick on the ground running parallel to my target. The target being the yellow flag on the range. And it’s also running directly underneath my hands depending on how tall you are, but it’s going to be approximately a golf ball distance away from your toes when you’re setting up to the golf ball. And then the second alignment stick we’re actually going to place on the ground at 90 degrees to that target line. Target line and then 90 degrees to that. And that’s going to be very much for giving you feedback from that front on view.
Now as far as camera placement is concerned, first thing ideally you’ll be four paces away from the camera lens. Down the line you’ll generally be okay at all driving ranges. The front on view you may need to get in a little bit closer and you may need to put it on a 0.5 mode if you’ve got that on your phone just so you can see. It might give you that fisheye effect, but it’s okay as long as we can get the body and if that’s all you can do because you’ve got a wall in front of you. So, once we’ve got it four paces away in an ideal world on that tripod, what we’re looking for is when you’re going for the down the line view, first of all, we’re looking to see that this alignment stick on the ground is running straight when it comes to that lens on that camera phone. If it’s off at an angle, it means you’ve got the camera phone in the wrong place. So also you’ll see the height of the tripod is at hand height. The camera lens again is hand height running parallel to the target line. This is what we need in order to see where the club face is accurately and also to just see where the swing plane is. Make sure there’s nothing bad happening from there.
I’ve got the front on set up now four paces away. Again, I’ve still got the camera at hand height. But now you can see when you’re looking through the lens that this alignment stick here, the 90 degree to the target line alignment stick, that is looking perfectly straight.
BUILDING THE SWING LIBRARY
As I’m sure you’ll agree, that video there is really, really useful, especially if you’re not quite sure how to properly set up your cameras. Now, having set my cameras up using those instructions, I then got to work hitting all of the clubs in my bag. So, I basically started with my 60° wedge and worked all the way down to my driver. Now, I was conscious that I didn’t want to change my swing in any way. So, I basically just hit golf balls without a thought and just doing what I normally do in terms of setup and my golf swing.
When I was finished, I then took all of those swing sequences into a video editing tool, synchronized them, and then I broke them down into individual swings, and then basically kept one swing for each club, both down the line and front on. So, I now have a library of all of those swings that I can refer back to in a few months time. I also kept a nice side by side for each of the clubs. Now, I’m not going to analyze my swing in this video, but I am going to release a video in the near future where I basically go through what I think I do well and not so well with my golf swing. So, make sure you do hit that subscribe button because I will have that video up in the not too distant future.
GATHERING DATA WITH FLIGHT SCOPE MEVO GEN 2
Once I had done that, my attention then turned to gathering some data about my golf swing because whilst visually I want to be able to compare back, I also want to do a similar thing with my data. And that’s where the Flight Scope Mevo Gen 2 launch monitor comes in handy because this allows me to gather data about up to 20 or 21 points to do with my golf swing and my ball striking. So again, I started to hit golf balls with my 60 working through to the driver. I used Titleist Pro V1, same make and model of ball, and didn’t do anything different from what I normally do with my golf swing.
I hit roughly between 15 and 20 shots with each club. So I did a full gapping for my entire bag and then what I did is I took the data into the flight scope dashboard and I removed any outliers. So any shots which went unusually far like thin shots for example or any which came up really, really short or any mis-hits, I stripped those out and left myself with 10 shots for each club. Now I didn’t pick the best 10 for each club. I just picked 10 fairly normal shots. This then allows me to pull in an average for each club in the bag.
In a future video, what I’m going to do is I’m going to use Flight Scope’s Badger AI tool, which you can basically use if you’re a Flight Scope user to analyze your data and tell you what you’re doing well, what you’re not doing so well, and what you should focus on to try and improve. But again, having this data means that in the future, once I hopefully start improving my golf swing and my ball striking, I can actually look back at the data and see just how much I have improved. And what I love about this is I’ve got that data for every single club in the bag. So whether I want to start working on my wedges, I want to work on a seven iron, I want to work on my driver, I’ll be able to work on it and compare.
NEXT STEPS: THE PURE YOUR IRON COURSE
The focus really recently has been on gathering the data about where I am at this moment in time and gathering those swing sequences. If you’ve got any questions or comments or suggestions, please drop them in the comments area below. Make sure you hit the like button and feel free to follow the channel by hitting the subscribe button if you’ve not done so already.
So, having collected all of that data, where do we go next? Well, the plan is to start working through Me and My Golf’s Pure Your Iron course. And that course is really, really good because it’s for both beginners and for intermediate level golfers or people who are experienced like myself. What I like about that course is it covers all of the basics. So, it goes from your grip to your stance to your alignment, takeaway, back swing, down swing, absolutely everything. And it’s really nicely structured.
The first part of that course will be working on my grip, which is going to be my focus over the next few weeks. I’m determined to do this properly, so I want to do things slowly, and I assume that fixing the grip at the very beginning is the right thing to do. Now, I actually think my grip is probably not too bad. However, I will be making use of a really helpful little training aid, which is essentially a golf glove with markings on it, and I’ll use that to try and ensure that I can develop a neutral grip. So, that’ll be the focus for the next few weeks, weather permitting. I’ll be out there hitting lots and lots of golf balls and making sure that my grip is in the right place before I move on to my setup, takeaway, and other parts of my golf swing.
Anyway, that’s just a sort of full update on what I’ve been working on recently and where I’m up to. If you enjoyed that, be sure to hit that like button. Again, drop any comments or questions or suggestions in the comments area below. And if you’ve not done so already, please do subscribe to my channel so that you can follow along with me on this journey to hopefully becoming a scratch golfer. But anyway, I’ll see you in episode three.
Creating a swing video library
One thing I have often neglected in the past is properly documenting my golf swing. I’ve taken plenty of random videos on the range or out on the golf course, but I’ve never captured a consistent, high-quality library of me hitting every club in my bag.
In three or six months’ time, I want to be able to look back and compare my golf swings to see how much they have improved, and in order to do this, I need to capture my swing as it is just now. To do this properly, I headed into the garden and filmed every club in my golf bag, from my 60-degree wedge all the way up to the driver. I made a conscious effort not to try and change anything in terms of my stance, setup, ball position or pre-shot routine. I just wanted to capture my natural golf swing as it stands at this moment in time.
Proper camera setup to record golf swings
Having filmed my swing many times over the years, I’m already aware of just how important camera placement is when it comes to properly capturing your swing. If the camera is a few inches too high or at the wrong angle, you can either miss important details about your swing or see issues in your swing that don’t actually exist.
Keen to do things properly this time round, I followed the advice from Piers and Andy at Me and My Golf to ensure my cameras were set up correctly both down the line and front on. Their ‘How to Film Your Golf Swing’ video, available through their ‘Pure Your Irons‘ course, provided an excellent overview of the subject, with these notable takeaways:
- Use a tripod: Handheld footage is too shaky for proper analysis.
- Hand height: The camera lens should be at roughly hand height, parallel to the target line.
- Four paces away: Position the camera four paces back to get the full swing and club in the frame.
- Reference lines: Lay down alignment sticks, one parallel to the target (running under your hands) and one at 90 degrees for the front-on view.
Should you wish to learn more about the correct camera set-up for filming your golf, I’ve included Me and My Golf’s ‘How to Film Your Golf Swing’ video within my video above (with their consent), so be sure to check that out.
Having finished capturing video footage of my golf swing for each club, I took the footage into a video editor and synchronised, split and exported the sequences, leaving me with a collection of videos, like those below, that I can compare with in the near future.
Never miss an update
Enter your email below to be added to my mailing list, where you’ll receive my latest updates, reviews and exclusive discounts straight to your inbox.
You’ll never be spammed and can unsubscribe anytime you like.
Capturing my golf swing data
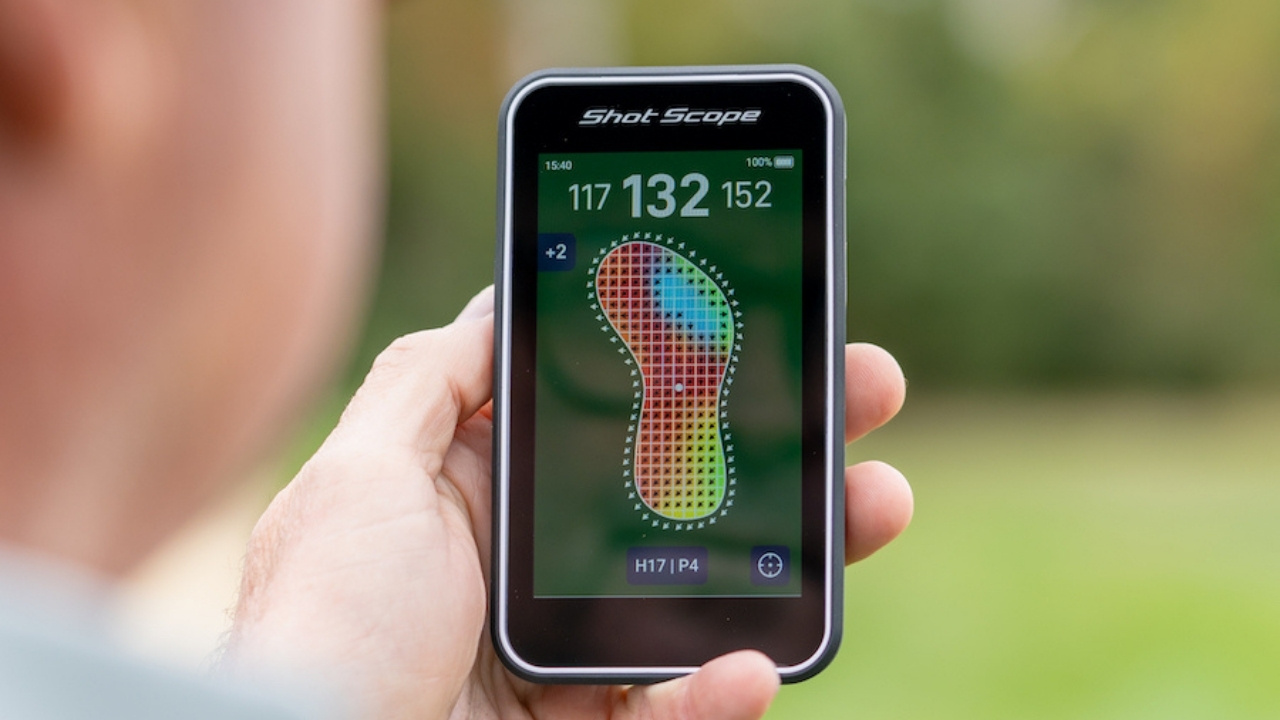
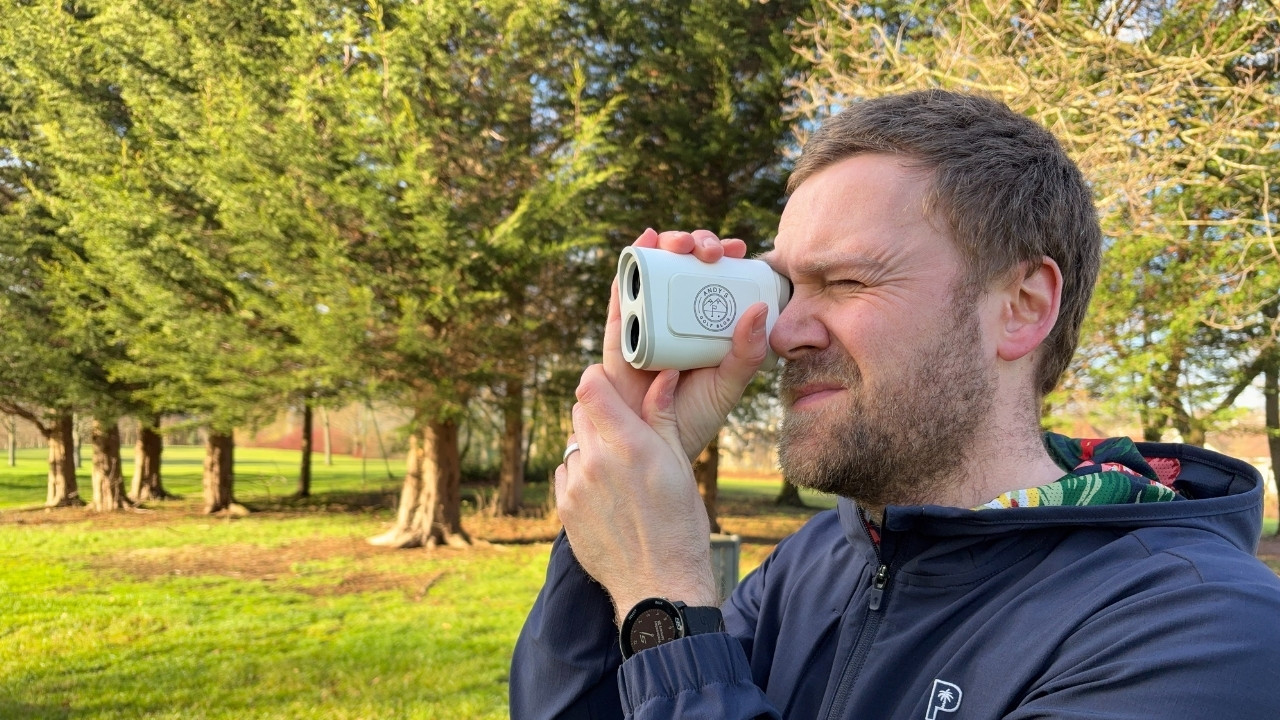
In addition to capturing footage of my golf swings with each club, I also wanted to gather some swing data using my FlightScope Mevo Gen 2 launch monitor, so I conducted a full gapping session for my entire bag. If you’re unfamiliar with this tech, I recently created a Mevo Gen 2 unboxing and first look video, which will help fill you in.
As I did when recording footage of my golf swing, I kept my setup, pre-shot routine and swing the same as normal, and used the same Titleist Pro V1 golf balls for every shot and to keep the data consistent. I hit roughly 15-20 shots with each club and then headed into the FlightScope dashboard to clean up the data. I stripped out the outliers (shots that went unusually short or long) and left myself with 10 “normal” shots for every club.

Doing so allowed me to obtain an average of roughly 20 data parameters, including carry and total distance, spin, angle of attack, smash factor and launch angle for each club in my bag, which now serves as my performance baseline. As my ball striking (hopefully) improves throughout this process, I’ll be able to see the literal proof of this happening in the numbers. I’ll be digging down into my swing data in a future post, but if you’re curious to see what data the Mevo Gen 2 gives you access to, I explore it in detail in a recent video where I used Chat GPT to analyse my swing data, with very interesting results.
Next steps: Checking my grip
Now that the data is collected and the swing is documented, it’s time to actually get to work. I’m starting with the Pure Your Irons course from Me and My Golf.
Even though I am an experienced and fairly competent 7 handicap golfer, I am going right back to the very basics with this journey. The first area I’ll be focusing on will be my grip. Whilst I’m convinced that my golf grip is already fairly neutral and generally in a good place, I’ll still be working through the grip-related tutorials and using my True Grip training glove to ensure everything is as it should be before moving on to the next section of the course.
So, that’s it for part two of my Journey to Scratch. Thanks for taking the time to read or watch this update. Feel free to drop any comments, questions, observations or feedback below, and I’ll see you in the next one!